

MAKING THE STAG CLOCK TELL THE CORRECT TIME
If your clock only tells the correct time twice a day, here is a simple way to cure it.
This was a suggestion by one of our members, Kevin Williams and I decided to try it.
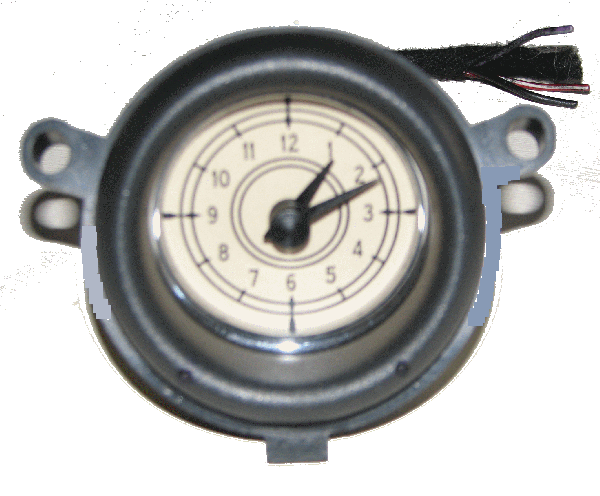
First obtain a Rover 75 clock (or MG ZT if you're not prejudiced).
Try to get the plug and wiring which connects it to the wiring loom otherwise you will have to solder wires onto tags.
click on the pictures to open larger images.
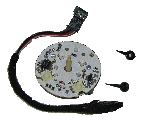
Remove the casing and discard everything except the mechanism, hands and wiring.
Remove the two rubber buttons on top of the mechanism.
They are pushed through the plate and just pull off.
These are fast forward/reverse controls to adjust the time.
Under each one you will find two contacts.
Shorting these contacts is how you adjust the time.
The two inside contacts are joined together on the circuit board so you only have three connections:
Forward, Reverse and Common.
Now the tricky part.You have to solder three wires onto these contacts without shorting them out.
I used thin telephone cable and a fine tipped soldering iron,
putting the wires through the button mounting holes before soldering them.
This leaves you with five wires, the three already mentioned and the Live (purple) and Earth (black) of the plug.
The red/white can be cut off as it's for the illumination. The original Stag lighting will be used.
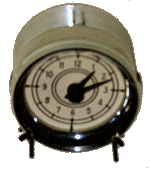
Take the Kienzle clock apart and remove the mechanism from the casing.
The only parts to be used are the case, hands, the green transparent plate and the faceplate.
There are three spacers on the rear of the green plate. Rub these down using a sheet of rough abrasive paper.
There are four mountings on the top of the new mechanism. These hold the LEDs which were the illumination.
Apply a good coating of adhesive (Araldite) to these and apply the green plate so that it is in the centre.
Then glue the Kienzle clock face into the green plate.
I found that it is better to have the wiring plug at the six o'clock position
and the Stag light bulb at the twelve o'clock otherwise the light will be too bright.
The Rover clock hands are different from the Kienzle ones.
I decided to keep them as standard as possible.
First cut the Stag hands off of the mounting bosses.
Then turn to the Rover hands.
The minute hand has a domed top which is too tall for the case so rub this down so that the boss is flat.
Now glue the Stag hands to the Rover ones.
A touch of white paint tidies them up and it is an opportunity to give the inside of the case a coat as well.
The Kienzle time adjusting button can be kept but cut off the two prongs which located on the hands to turn them.
Also rub down the boss on the rear of the glass to give more room.
To stop the mechanism going too deep into the case I glued about ¼ “ of dense foam on the bottom of the case.
I also sealed up the other holes which are now redundant.
Push the wires through a piece of cable sheathing and push this through a hole diagonally opposite the bulb holder.
Now push the mechanism into the Stag case, pulling the wires through as you do so.

Then fit the hands to the mechanism and attach the chrome rim and glass to the case.
To adjust the time I used two mini push switches attached to a metal plate.
The wiring is tie-wrapped onto the plate and the wires are soldered to the switches
with the common wire connected to one tag of each switch. The others are connected to the two remaining tags.
A piece of 1” insulating tape was then wrapped around the switches to protect them.
An insulated spade connector is connected to the live wire and a ring connector is attached to the earth wire.
This was then attached to the threaded rod at the back of the case.
The completed clock was then inserted into the car and the switch plate was attached under the dash.
With the light bulb, live wire and earth connected, the clock was adjusted using the mini switches.
The clock now tells the correct time ALL of the time